MAP Client Installation and Setup Guide
This document describes how to install and setup the MAP Client software for use on your machine. The MAP Client software is a Python application that uses the PySide Qt library bindings.
The Installation section details getting the MAP Client and it's dependencies installed on your system. There are two main ways of getting the MAP Client installed on your operating system. This document will cover both of those methods. For users and plugin developers the suggested method is to Install Using Pip, for developers of the MAP Client framework the suggested method is to Install Using Bazaar.
The Install Using Pip method is covered first followed by the instructions on how to Install Using Bazaar. For most operating systems Python is already installed but for some, most notably Windows based operating systems, it is not. For instructions on installing Python for Windows based operating systems see the Installing Python on Windows section.
The Setup section details getting the MAP Client setup with external plugins.
Installation
Install Using Pip
Pip is a tool for installing and managing Python packages. It is particularly suited for the installation and management of source distributions of Python software, of which the MAP Client is one. The downside to using pip is that it is not great for installing binary packages, and there is one such binary package that the MAP Client requires, namely PySide. This creates something of a problem for the installation of the MAP Client. To make the installation via pip as easy as possible we must do some of the installation manually.
The manual part of the installation concerns installing PySide. For PySide we need to first install it, for Ubuntu:
sudo apt-get install python-pyside pyside-tools
For OSX download the appropriate PySide binaries from the qt-project and follow the instructions in the dmg. For Windows download the PySide installer binaries from the qt-project, make sure the binaries for PySide match the installed Python you have and follow the instructions in the installer.
Then we need to let pip know that PySide is installed, this takes the form of creating an empty file called 'PySide-X.Y.Z.egg-info' in the site-packages or dist-packages directory, depending on where your PySide libraries were installed. The X.Y.Z are given values that match the actual version of PySide you have. For example on Ubuntu I would create the file:
sudo touch /usr/lib/python2.7/dist-packages/PySide-1.1.2.egg-info
and on Windows I would create the file:
echo pyside > c:\Python27\Lib\site-packages\PySide-1.1.2.egg-info
and on Mac OSX I would create the file:
sudo touch /somewhere/PySide-1.1.2.egg-info
At this point we can hand over to pip to finish the installation for us, if you don't have pip installed then read the section on Installing Pip. The command for installing the MAP Client is:
pip install mapclient
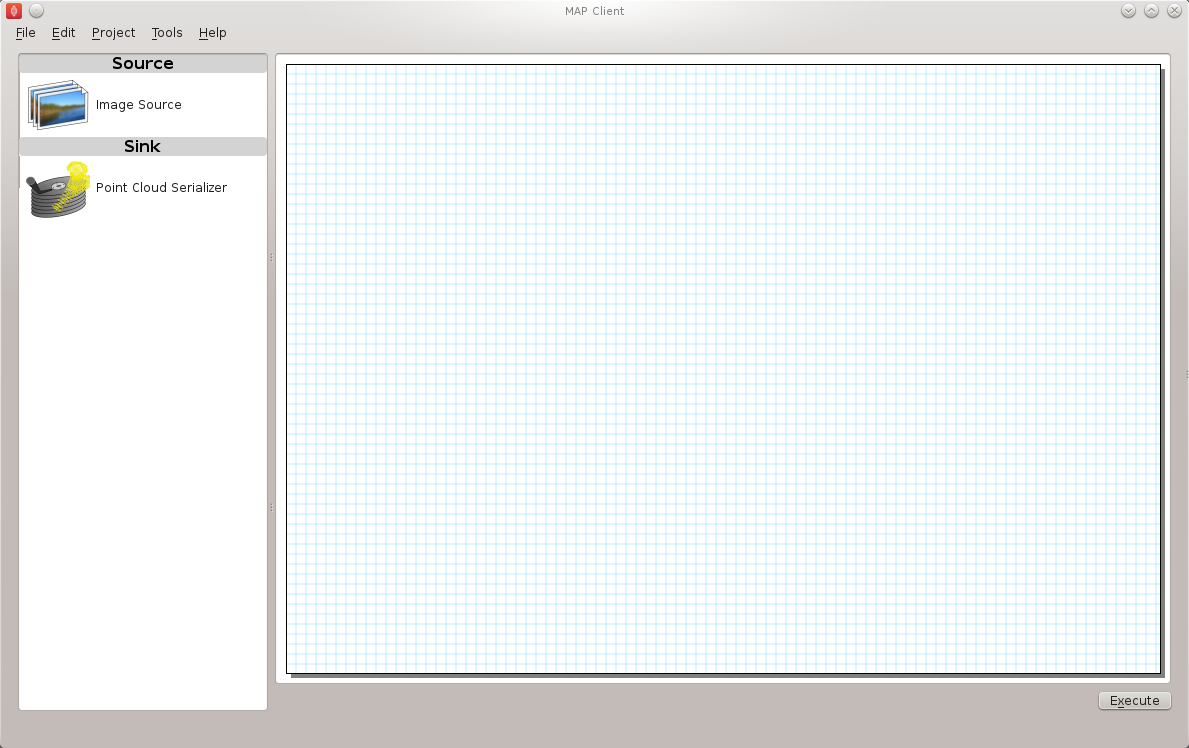
The MAP Client application should now be installed on your system. It can be launched from the command line with this command:
mapclient
which should result in an application window similar to that shown below.
The MAP Client relies heavily on plugins to do anything interesting, you can either create these yourself or add already available ones to your application by downloading them and using the Plugin Manager Tool in the MAP Client, read the documents MAP Features Demonstration and MAP Plugin Creator Wizard to learn more.
Install Using Bazaar
Bazaar is a distributed revision control tool. It is used by Launchpad for open source project hosting where the MAP Client source code is situated. To get bazaar use you systems package management system to install it. If you are on windows then download and install it from:
http://wiki.bazaar.canonical.com/Download
and checkout the source code and manually setup the required software
Installing Pip
Pip is a tool for installing and managing Python packages. It relies on setuptools to work, first you must install setuptools which has very good instructions available here
Next test to make sure that easy_install is available, open a command window and issue the command:
easy_install --version
If this command prints out the version of setuptools you have installed then you can install pip with the command:
easy_install pip
otherwise you will probably need to adjust the PATH system variable so that the easy_install application is available.
Installing Python on Windows
This section is for setting up Python on Windows as other operating systems supported by the MAP Client already have Python available. The MAP Client framework is written in Python and is designed to work with Python 2 and Python 3. The MAP Client framework is tested against Python 2.6, Python 2.7 and Python 3.3 and should work with any of these Python libraries.
With a Python installation for windows there are a number of choices to make:
- Which version?
- 32-bit or 64-bit?
The choices made here must be the same for PySide. The current recommendation is to choose the 64 bit version of the latest Python 2.7 binary release. Current versions of Python are available from:
http://www.python.org/download/
Downloaod an msi installer that matches your choices and follow the onscreen prompts. Make sure to add the Python and Python\Scripts folders to your system PATH.
Setup
External Plugins
The installation of external MAP Client plugins is a two step process. The first step is to download the plugins onto the local file system and the second step is to use the MAP plugin manager to get the MAP Client to load them.
There is a github orginisation which has a collection of MAP Client plugins. Some of the plugins here are more advanced and have a dependency on the Zinc and PyZinc libraries. To use these plugins please read the Zinc and PyZinc section on how to setup them up.
Zinc and PyZinc
Zinc is an advanced field manipulation and visualisation library and PyZinc provides Python bindings to the Zinc library. The MAP client is able to make use of Zinc for advanced visualisation and image processing steps through PyZinc. Binaries for Zinc and PyZinc are available from here and here for Linux, Windows, and OS X.
First install Zinc, for Ubuntu download the debian package and install it with the folowing command:
sudo dpkg -i zinc-X.Y.Z-x86_64-Ubuntu-10.04.4-LTS.deb
for Windows download the executable installer and follow the onscreen instructions. For Mac OSX download the dmg and follow the onscreen instructions. Archived versions exist for installing the Zinc library manually if you prefer.
To get PyZinc installed, follow these steps:
- Download the PyZinc archive that matches the Zinc library already downloaded.
- Extract the downloaded PyZinc archive (unzip on Windows, tar for Ubuntu and Mac OSX).
- In a command window, make the current directory the directory where PyZinc was extracted.
- Execute the following command:
python setup.py install.
note:
The Zinc and PyZinc packages must have the same version
number.